Roadmaster Washer Hose repair
I had noticed when I got my Roadmaster that the washer line feeding the drivers side spray nozzle had been damaged and the previous owner had inserted a plastic coupler into the line rather than replace the tubing from the delivery hose to the wiper nozzle. At some point over the chill of winter, that plastic coupling snapped and I had planned to replace it. Coincidentally, the factory nozzle on the passenger side had broken as well. Now I was left with no choice but to remove the cowl assembly and repair the delivery hose as well as the tubing in my driver’s side wiper arm.
I dug through my factory service manual to see how to get at the washer delivery hose under the cowl and was disappointed to find that step one, was “Remove the cowl”. Removing the cowl was the very information that I was after. Since I was on my own to figure it out, I thought I might as well document it a little bit. I didn’t get as many pictures of the process as I should have, but it really is easy, it’s just a matter of knowing the order to pull things out and put them back in again.
The cowl assembly is attached to the car with a collection of screws and plastic pins. As most of the screws are concealed, it takes a minute or two to get at all of them. Before starting, remove the wiper arms and set them aside.

Gently insert a small screwdriver blade into the front edge of the cover to release the clip.

To access the remaining screws, the engine compartment weather stripping needs to come off. Lift up on the edge of the rubber seal and remove all of the plastic pins holding the seal to the cowl assembly. While the weather seal is removed, now’s a good time to get it clean and treated with rubber conditioner!
 In addition to the two screws concealed by square plastic covers on either end, all screws and trim plugs must be removed in order to lift off the cowl. The screws are marked here with red arrows and the trim plugs are marked with blue arrows. With all of the screws and plugs out, remove the drivers side of the cowl first.

Once the cowls are off they can be cleaned. In my case there was a mess of leaves and pine needles and whatnot under the cowl vents but on top of the vent screen. As the screen is adhered directly to the cowl it can’t easily be removed. I got all of mine cleared out just with a garden hose.


The washer fluid delivery system connects to the larger fluid hose (shown by the arrow) that runs up to the cowl space from the washer pump. Disconnect the entire tubing assembly and replace it.
It’s likely that the cowl tray will have some debris on it as well. This can be swept or hosed off as required. Leaving this mess in there is just asking for rust later on.

I took the opportunity go over the cowl plastics with some cleaner and protectant while I had it all apart. In my case it was also necessary to repaint the wiper arms so I got those painted while I let the weather seal soak in protectant.
When reassembling everything it’s important to remember that the passenger side of the cowl needs to be installed first. Once that’s in, the driver’s side can go on next, there are two clips on the underside of the driver’s side cowl that hold the fluid hoses in place. It can be a little fiddly to get the hose on the cowl and connect it all to the fluid feed hose before re-seating and screwing down the cowl. An extra pair of hands can be useful.
When reinstalling the wiper arms ensure that they get put back onto the gears in the same location that they came off. If the wipers were in the off position when they came off, it’s a simple matter to put the arms back on so that they are resting against the stops for it to be in the bottom-most position. Use a torque-wrench to get the nuts back in place to 27 ft/lbs. After reinstalling the arms, everything is good to go and they can be tested.

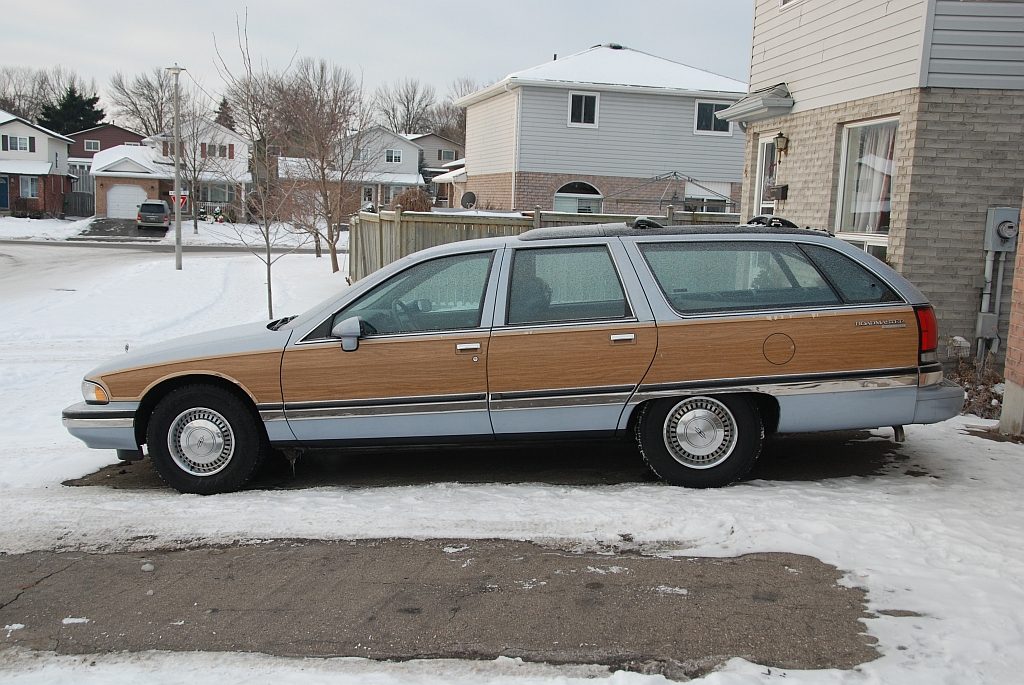
Here we have my finished product. The wiper arms are shiny and new looking as is the cowl assembly. The washer hose has been replaced and it’s ready to go back on the road.


Nice write up!
Good photographs too.
-Stewart
Thanks for the clear pics of pins to be removed in the cowl.
very helpful!
Mitch
Glad they helped! Thanks for visiting!