Hammering out some details
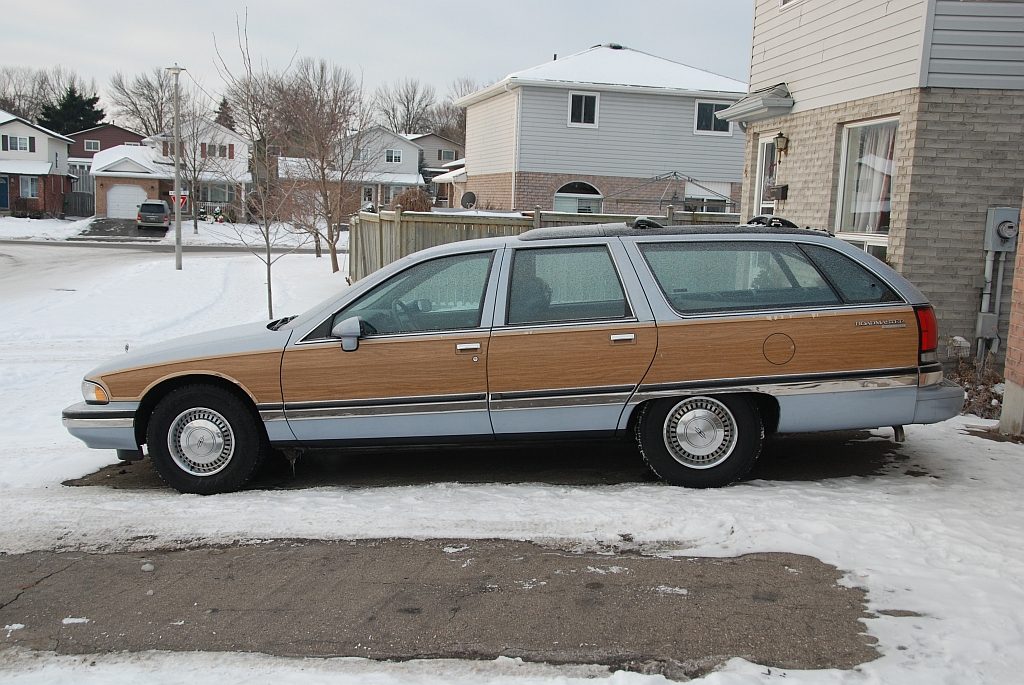
My plans for the Roadmaster this summer included cleaning up the faux wood trim around the woodgrain. While I was inspecting the trim and planning how best to strip and refinish it, I noticed that the stainless trim corner piece on the back of the wagon was not only dented but was falling off. I was aware that much of my stainless trim had wrinkles and dents in it but repairs like that seemed beyond my skills and I was trying to put it off. I figured it was something that could wait until much, much later.
 You can see even here that the rear corner panel isn’t sitting correctly so rather than risk losing the corner trim I removed it for safe keeping. Needless to say removing the trim made me realize how badly it was damaged and I found myself wishing that I could fix it. The trim itself is held on the car with trim clips that have plastic pins on the back. The pins insert into the body and sandwich the upper edge of the rear bumper plastic between the body and the trim. Apparently, when the trim was damaged the previous owner decided to screw the bumper panel onto the car with self tapping screws rather than simply repair the trim and replace the trim clips. The extra holes in the body
 annoy me to no end so now I felt even more compelled to repair the stainless trim and get it covered up again. The outer holes on the top and the bottom of the trim shown at right are intended for the trim clips to fit through. The holes in the middle are from a car owner with no respect for their car.
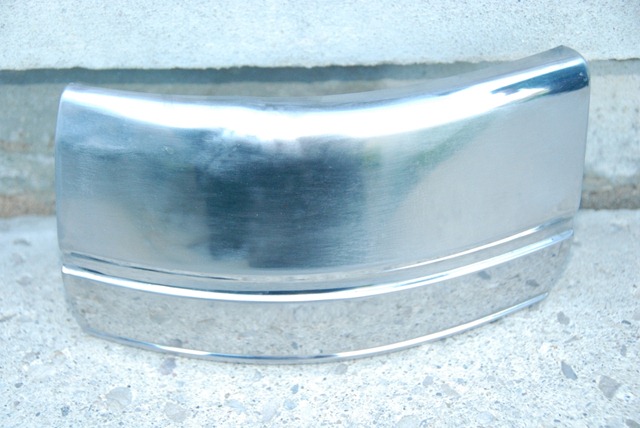
After a fair amount of reading around the web and advice from some folks over at StationWagonForums I found that repairing the stainless trim isn’t terribly difficult just incredibly time consuming. Since I had the piece of trim off of the car anyway, I figured I might as well try my hand at repairing it. To be honest, it’s really quite enjoyable work. I spent a fair amount of time with a hammer and smoothed the trim piece out as much as I could. This seems to be more art than science (and I’m way better at sciences than arts) but with a little patience I was able to get the trim to the point where it was passable. I followed up all of the pounding with a fine grit sandpaper and started smoothing up the dings and leveling of the high spots.  Unfortunately, once again, I didn’t think to take photos before I got started and it seems that in all the time I’ve owned the car, I’ve never taken a picture of the rear. I really wish I could show a before and after photo here. Even though I still have some smoothing to do, and certainly a fair amount of polishing, I think the trim repair is coming along very nicely and I’m really thrilled with just how easy it is to do. I tried repeatedly to take a good close up photo of the trim but I wasn’t able to get a good shot that still showed the remaining dings. I have the trim piece sitting upside down from how it would be installed on the car, but you can see that the upper edge is less polished than the lower one as that’s where I’ve been sanding. The photo is really quite meaningless without a before shot as it looks pretty rough here. It’s actually much nicer than it looks, honest. The reflection on the upper edge shows where it still needs work but it’s much improved over how it looked when I took it off of the car. Once I get the last of the dents out, I can start polishing it again to get it ready to put back on the car. Both of the plastic trim pieces were damaged by whatever
 dented the trim panel in the first place so I’ll need to find a source for those as well. Here we go again, hopefully these will be easier to locate than that errant trim clip for my Pontiac has been.
I wouldn’t say that this is a stellar amount of progress, but I can clearly see how much easier it is to repair stainless trim panels than I ever imagined it would be.