Reinstalling the roof rack…for good!
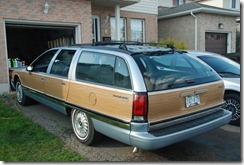
I was fortunate that the roof rack screws on my wagon didn’t leak. Since I had to take the roof rack off for the roof repair, I figure it’s unlikely that it will all just go back together and not leak. With it all apart I decided to replace the crappy captive nuts in the roof with some WellNuts that I picked up from SpaeNaur.
In case anyone hasn’t seen a WellNut here is a link to the SpaeNaur catalogue. There are some diagrams on there showing how they work.
http://www.spaenaur.com/pdf/sectionC/C147.pdf
I had to drill out the captive nut holes in the roof as they were too small for the WellNuts that I purchased. In order to do that the captive nuts had to come out first. One of them had already spun free when I was removing the rack and it seemed likely that others would do the same if I tried to drill them. Here’s the steps that I used to remove the nuts from my roof.
You can see here, the even though my roof hadn’t started leaking yet, the captive nuts were rusting. It was only a matter of time before they started to leak. On two of the holes the rust had started to spread out and was bubbling the paint about 1/2 an inch out from the hole edges. On those two I stripped the paint and primed it before finishing up.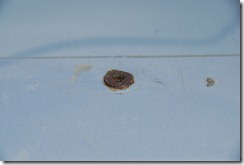
To remove the nuts, I took a Dremel tool with a cut off wheel and made two cuts in the nut on either side of the screw hole.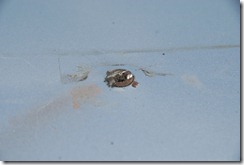
It only took one nut’s worth of practice to be able to do this without damaging the paint at all. Once the cuts were made I simply inserted a screw driver into the screw hole and pushed down gently while cranking the screwdriver handle around. This caused the cuts to collapse and the captive nut dropped neatly into the car.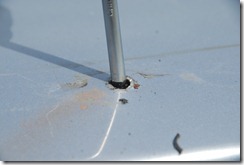
Using a Titanium step drill I drilled out each hole to a size that was appropriate for the WellNuts that I had purchased. In hindsight I wish I had drilled them slightly smaller. The upper flange on the WellNut wasn’t as wide as I would have liked and on a couple of occasions I accidentally pushed them right through the hole. After I drilled out the holes I sprayed the newly exposed metal with a rust preventative primer. These will all be under the roof rack rails so I didn’t get too fussy about finish for now.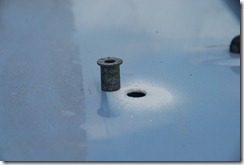
I then spread some RTV-based gasket material under the flange of the WellNut’s and inserted them in the holes. I spread the same gasket material on the threads of each screw when I threaded them in.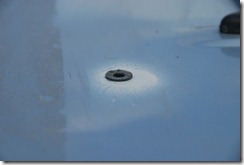
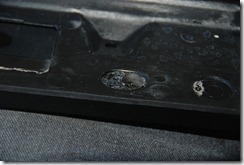
The biggest hassle with reinstalling the rails was that the screw holes in the rails have openings in them for some reason. The WellNuts need the mounted item to have a flat surface to hold the upper flange tight against the metal of the roof. Seems silly to me for these holes to be in the underside of the roof rack. I don’t know what purpose that serves. I wound up cutting some small pieces of rigid plastic to act as washers and sit between the bottom of the roof rack rails and the top of the WellNut flange. It was a little fiddly but it worked out well. In the end, my roof rack now stands about 1/32″ off of the surface of the roof and water passes under it and into the gutters nicely. I’m not sure how suitable it would be to try and use the roof rack anymore but I can’t see me using it for anything anyway. (‘Cept maybe for hauling a Christmas Tree home )
)
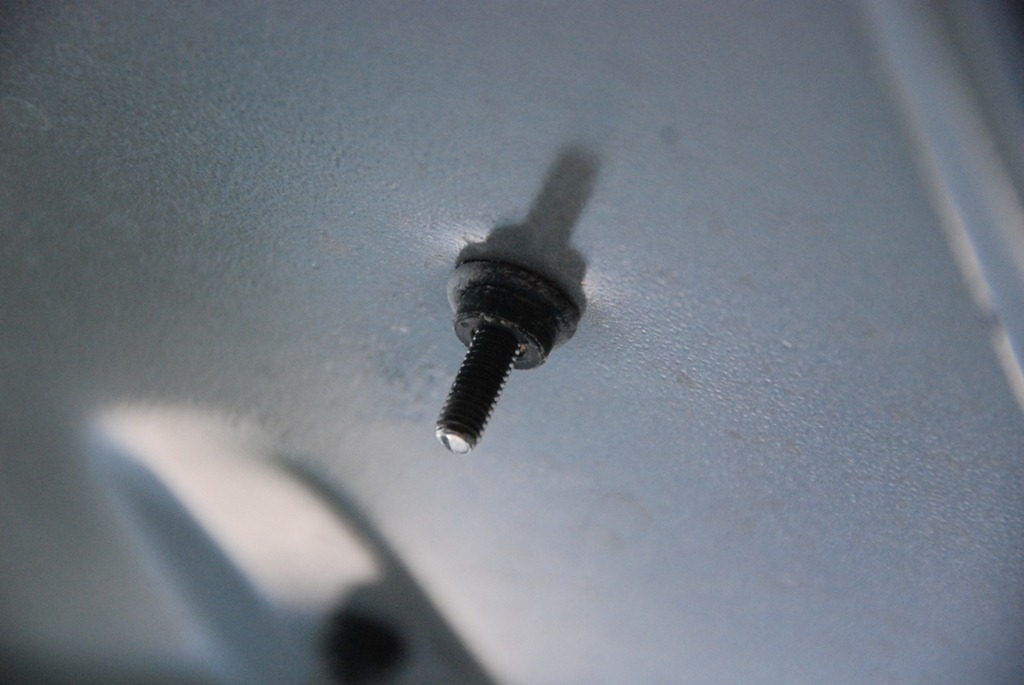
Here you can see how the WellNut compresses causing the Neoprene to spread out on the underside of the roof. It actually holds down quite nicely (once I made those washers to prevent the WellNut’s from being pulled out of the holes and into the cavities on the underside of the roof rack rails).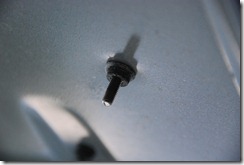
After removing the roof rack I had spent some time going over it with Back To Black to get that high gloss black look back onto the plastic. Now, not only is my newly blackened roof rack finally reinstalled but my wagon is now waterproof!!!! What a novel idea!
Once the rack was on and screwed down I put my garden hose up on the roof and sat in the cargo area for a while looking for leaks. Not a single drop came through.