Buick floor pan repair
With the Mrs down in Mexico for her sister’s wedding this week, I booked some time off to get some work done on the Roadmaster.
I had a shopping list of things that I want to complete and my goal is to have it all done and back together again before I go back to work in a weeks time. I want to:
-Clean the carpeting
-Repair the badly rusted seat frames
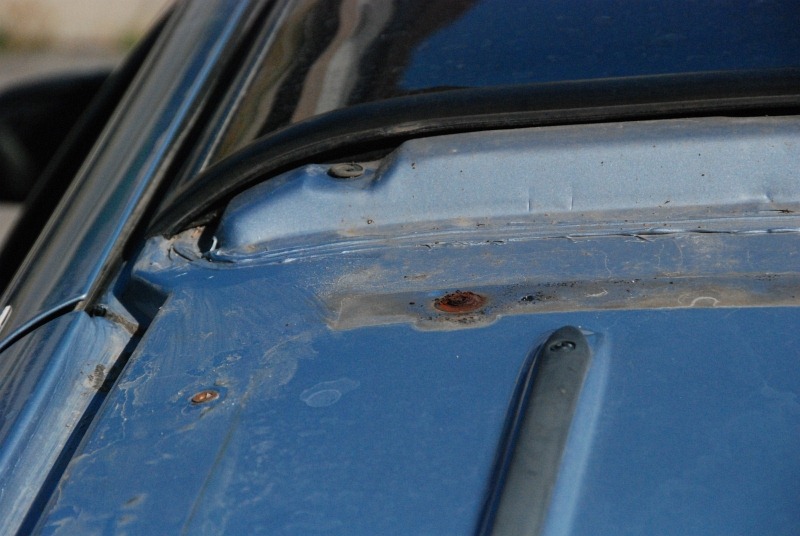
-Clean up the rust on the floor pans and coat them with Rust Bullet
-Apply Rust Bullet to the spare tire well, and the inside of the rear fenders
I took the weekend off and hung out with “The Boys†on Saturday and relaxed reading comic books on Sunday. Unfortunately Monday was one of the hottest days we’ve had in these parts in a fair while. I managed to get an early start and get the seats and carpeting removed before it got too bad, thinking that I would be able to get into the shade of the garage for the rest of the day.
Removing the seats in a 90’s B-Body is probably one of the easiest tasks I’ve ever undertaken. Remember that as a mechanic I make one hell of a Network Administrator. I have very little automotive experience so you can believe me when I say that this was easy.
I removed the rear seat first thinking that would give me more room to rock the front seats backward to disconnect the power seat motor connectors when the time came. The rear seat is as simple to remove as giving it a shove. The seat bench hooks into fittings set in the elevated portion of the floor. 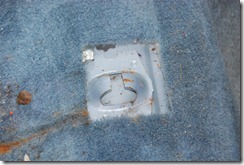 Pushing on the front edge of the rear seat bench and shoving it towards the rear of the car allows the rods under the bench to pop free from the hook shown here. The seat belts are bolted to the floor using large Torx head bolts. After undoing those, the whole seat bench can be lifted out.
With the back seat out of the way, the front seats are much easier. Each seat is bolted to the floor. The bolts are covered up with some small plastic covers. Simply unscrew the Phillips head screws holding the covers in place to get to the seat bolts. My wagon’s previous owner was no neat freak so there were all kinds of things under the seats. 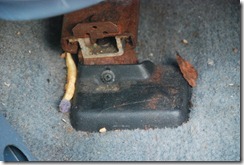 Unfortunately there was nothing of value other than $0.47 and a couple of tools that I seem to have managed to lose myself.
Now that the caps are removed we can work on the bolts holding the seat mounts to the floor. In my case, these bolts were badly rusted so I let them soak in penetrating oil for a while as I worked elsewhere and they spun out quite easily once I came back to them.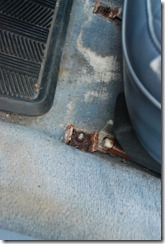
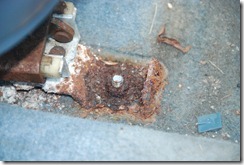
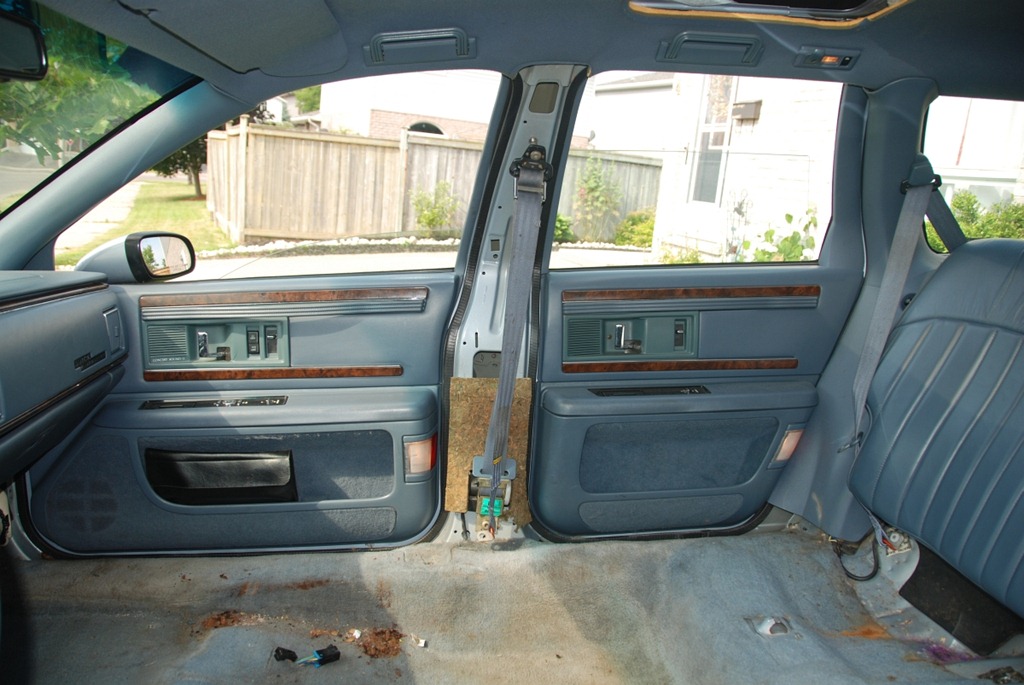
There are 4 bolts at the back and 2 at the front of each seat. Once they are all removed the seat can be rocked towards the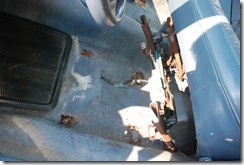 rear of the car so that the power seat connectors can be unplugged. If the car is equipped with the 60/40 split bench seat, the seat belts will need to be pulled down through the seat bench before lifting the seats out. With a bit of maneuvering the seats can then be lifted out of the car. I found it much easier to remove both seats out through the passenger door. In my case I also removed the door sill trim and the B-Pillar panels as my intent was to remove the carpeting as well. As you can see here, it all came apart quite simply and now all that’s required is to undo the seat belt bolt from under the drivers seat with a large Torx bit.
