Well worth the effort

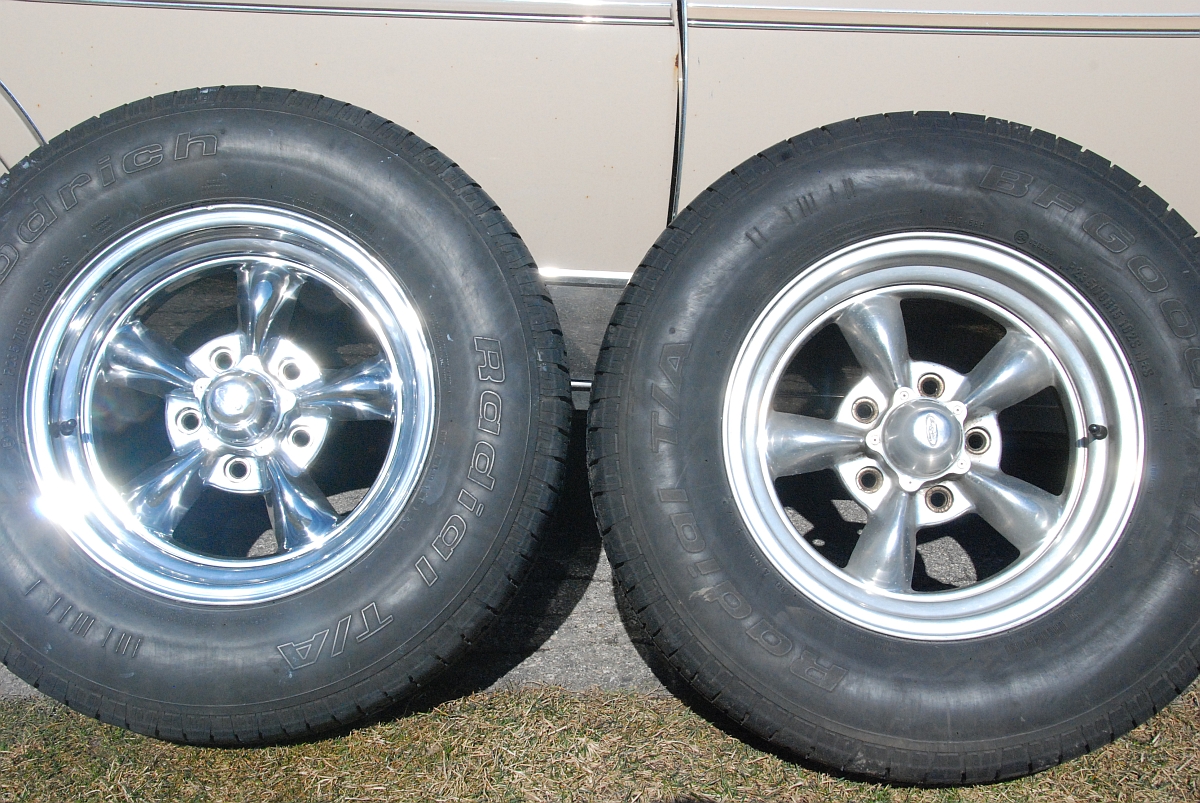
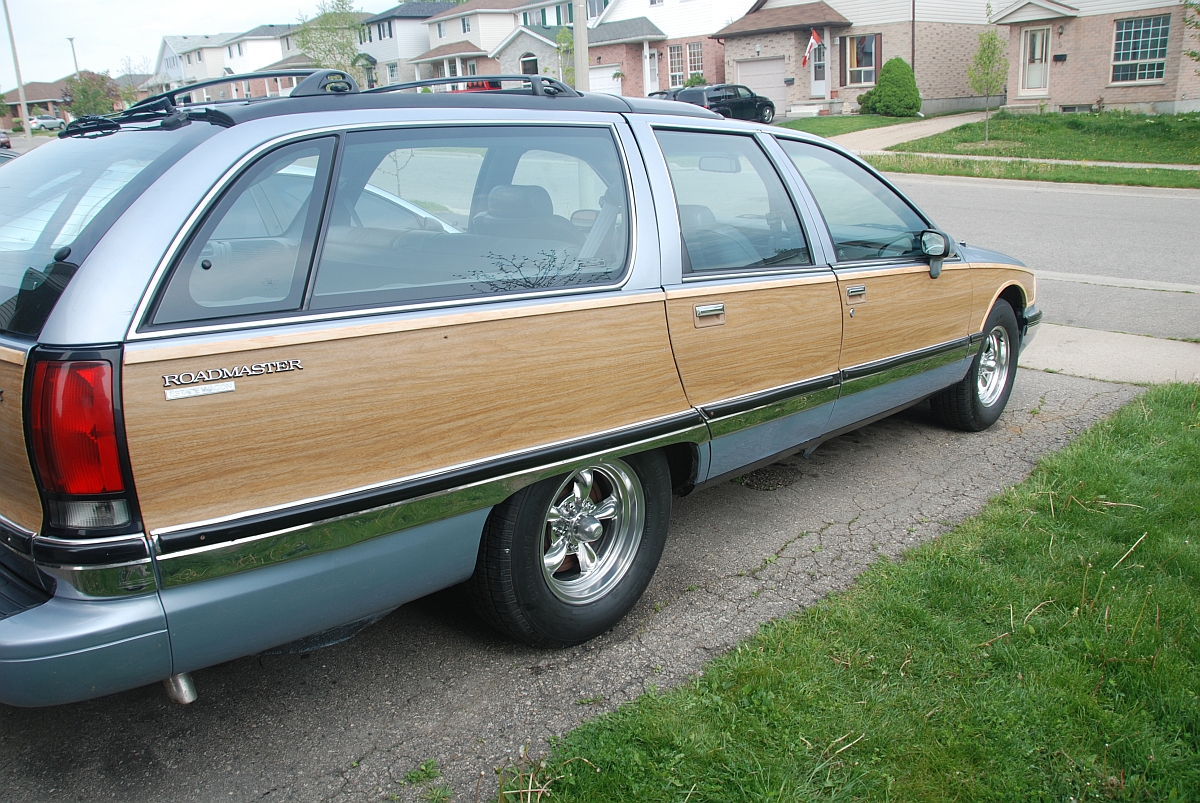
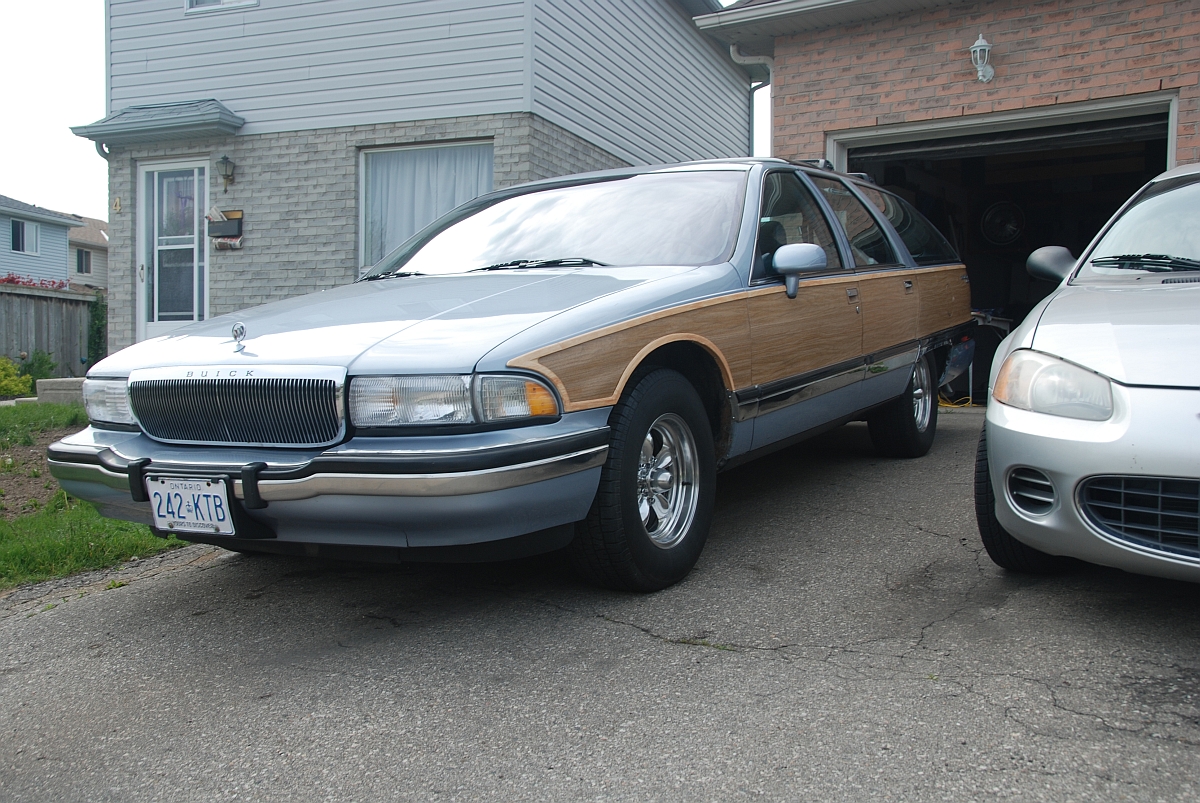
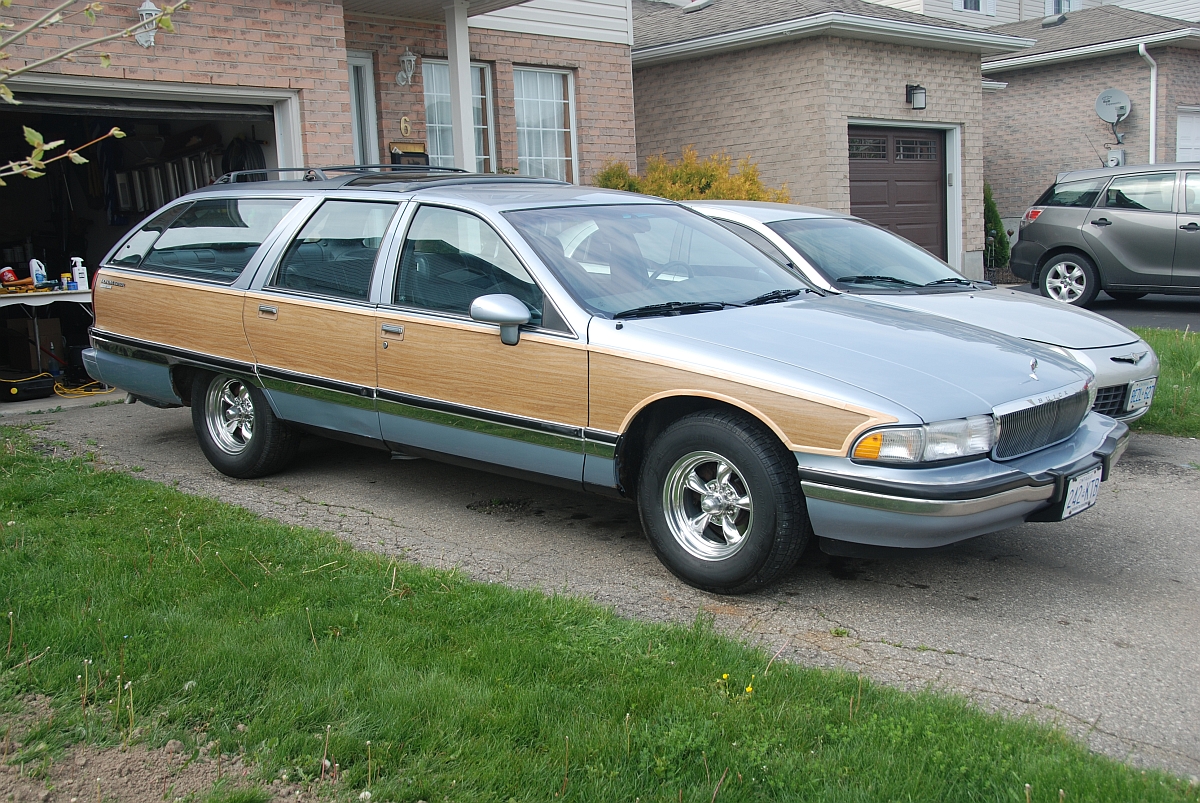
I’ve spent a fair amount of time working on the Eagle Alloy rims that I purchased back in February. I tried a few different polishes and methods of getting a shine back onto those uncoated aluminum rims. Numerous attempts later I found a number of small black specks on the aluminum that were extremely resistant to everything I tried to do. I few minutes spent online gave me a half dozen different methods of polishing aluminum. Most of the solutions I found seemed to involve some pretty abrasive methods. Since my rims weren’t in horrible shape that felt like a lot of overkill. I figured I would try my own less destructive methods and see what happened. As long as I didn’t go too overboard, I presumed that I could easily recover from any harm that I might do. You can see from the picture at left that these things really needed some work. The whole point of buying these was to have some shiny on the wagon. In the state they were in when I got them…well, this just won’t do.

I’m happy to say that the operation was a success and here’s how I did it. I started out with several different polishes like Mothers Chrome Polish and NeverDull but neither knocked me out. In any case none of them addressed the black specks on the surface of the aluminum. It turned out that the black specks were actually the beginning of some pitting in the metal. This meant I had no choice but to remove a layer of aluminum to get a good working surface before polishing it again. I tried a plastic dish scrubber that I liberated from the kitchen but it was leaving far too many scratches. I didn’t want to make things that much worse before I worked at making them better. After a bit of trial and error I settled on some 2000 grit wet/dry sandpaper and I wet sanded the surface of all four rims. This made them hazy, as would be expected, but at least they were clean. I did use the plastic scrubber on the inside surfaces to remove the brake dust from in there but kept with the wet sanding for anything that’s typically visible when they are on the car. Due to a bit of impatience I did each wheel to completion before moving on to the next. I think I would have lost it if I had sanded the surface of all of them before starting the polishing process and seeing some sort of progress. With the sanding done I broke out my tub of Blue Magic Metal Polish Cream. I love this stuff and use it on any shiny metal on the car. A bit of rubbing with a soft cloth works the paste into a black smudgy goop that lets you know it’s working. From there I use a second soft cloth to wipe off the excess before polishing with yet another soft cloth. The beauty of Blue Magic is that it leaves a bit of a coating on the surface to protect it from water spots. So while I do have an aluminum protector I may not need it. After a few hours bent over a table or leaning against the wall with a tire in my lap, I wound up with the pictures that can be seen here. I’m extremely pleased with the results and couldn’t be happier. They aren’t perfect, but they were used when I got them and now that I know what needs doing, I can keep them looking great. Repeating the polishing process now that they’re as clean as they are will only make them better. The wagon always turned a few heads when I drove it around, but now that many more people stare at it when I drive by. I poured sweat and tears into making these look good and it was well worth the effort.